How to run Website Traffic Ads on Facebook?

1,871 views · 19 Jan 2026

Digital Bikana

Driving traffic to your website through Facebook ads involves creating targeted campaigns that attract users likely interested in your offerings. By utilizing detailed audience segmentation and compelling visual or textual content, you can increase visits and potential conversions. Monitoring ad performance and refining targeting parameters are crucial for optimizing website traffic campaigns to meet specific business goals.

Description

Want to learn how to run website traffic ads on Facebook? This tutorial will show you step-by-step how to create a successful ad campaign to drive traffic to your website. Start reaching more people today! Want to drive more visitors to your website using Facebook Ads? In this video, you’ll learn how to run website traffic ads on Facebook using Meta Ads Manager to increase clicks and targeted traffic. ✅ What you’ll learn: How to set up a Website Traffic campaign in Meta Ads Manager How to select the right objective and audience Best ad formats for website traffic ads Tips to get high-quality traffic at low cost Perfect for business owners, marketers, and beginners who want more website visits and better online visibility. 0:00 Introduction – Website Traffic Ads in Meta Ads 0:04 What You Will Learn in This Video 0:09 Open Meta Ads Manager 0:13 Click on Create Campaign 0:16 Select Traffic Objective 0:23 Choose Manual Campaign Setup 0:27 Campaign Naming (For Reference Only) 0:39 Budget Setup Strategy Explained 0:50 Why Not Use Campaign Budget Optimization 1:02 Turn Off A/B Testing 1:07 Special Ad Category Explained 1:23 Move to Ad Set Level 1:25 Rename Ad Set 1:37 Select Conversion Location (Website) 1:54 Performance Goal – Link Clicks vs Landing Page Views 2:11 Set Daily Budget 2:24 Schedule Start & End Date 2:31 Set Location & Radius Targeting 2:52 Audience Targeting Basics 3:01 Age & Gender Selection 3:19 Detailed Targeting (Interest, Demographics, Behavior) 3:55 Manual Placement Strategy 4:06 Select Feeds, Stories & Reels 4:13 Disable In-Stream & Search Placements 4:27 Avoid Instagram Explore Placement 4:46 Move to Ad Creative Level 4:49 Page & Instagram Selection 4:56 Create Ad vs Existing Post 5:11 Select Single Image Format 5:24 Enter Website URL (Destination) 5:49 Display Link vs Final URL Explained 6:06 Browser Add-ons Option 6:28 Site Links Option (Recommendation) 6:56 Upload Ad Creative (Banner/Image) 7:13 Add Primary Text & Headline 7:30 Select Call-To-Action Button (Book Now) 7:54 Turn Off Advantage+ Creative 8:12 Ad Preview in Feed Placement 8:40 Issue in Stories & Reels (Wrong Size) 9:01 Fix with 9:16 Creative Upload 9:19 Final Ad Setup Complete 9:30 Publish Campaign 9:37 Conclusion & Final Tips

Related Articles

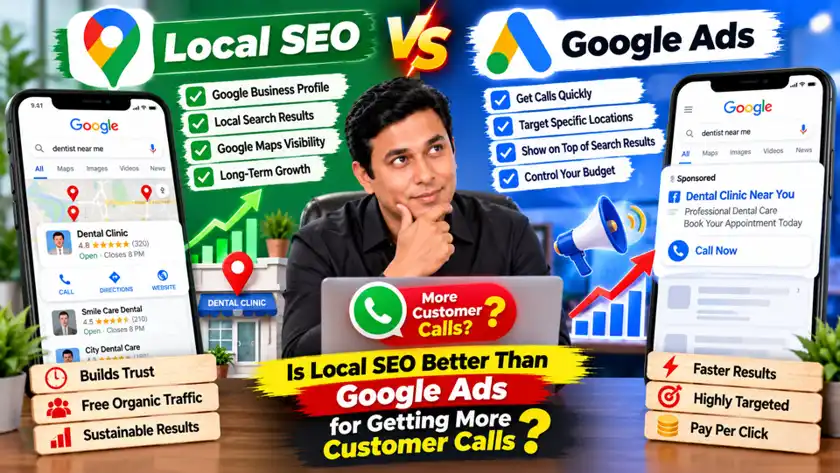
Local SEO vs Google Ads: Which Is Better for Getting More Customer Calls?

Imagine you own a dental clinic, plumbing service, coaching institute, salon, or another local business. When someone nearby searches Google for the service you offer, you want your business to appear at the right moment—and you want that person to c

Read Article →
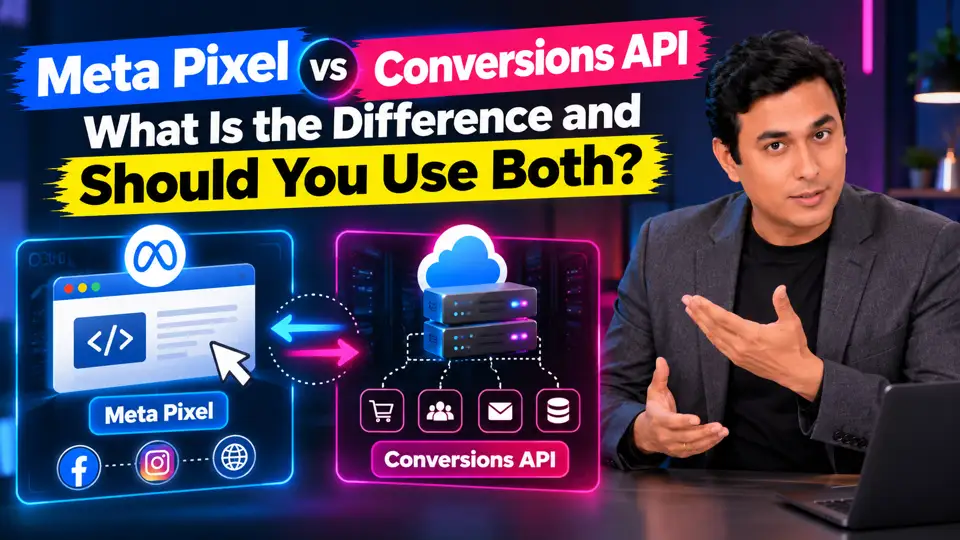
Meta Pixel vs Conversions API: What Is the Difference and Should You Use Both?

When running Meta Ads, one of the biggest challenges is understanding what happens after someone clicks an advertisement. Did the visitor purchase a product, submit a lead form, register for a course, or leave without taking action? Without reliable

Read Article →

How to Reduce Wasted Google Ads Spend Without Losing Reach

Running Google Ads can help businesses reach potential customers, generate leads, and increase sales. But what happens when your budget keeps getting spent without producing enough meaningful results? The first instinct is often to reduce the daily b

Read Article →